EMF installation - ‘Press space or fire, commander’
I really enjoyed Electromagnetic Field 2024, and wanted to contribute something to the 2026 edition. I was really inspired by Martin Ling’s talk on the Elite Game Engine at the last emfcamp, and decided to make some models of some of the ships from the game.
Mark Moxon has decompiled Elite, and has blueprints for each of the ships, which I used (with his permission) for the build
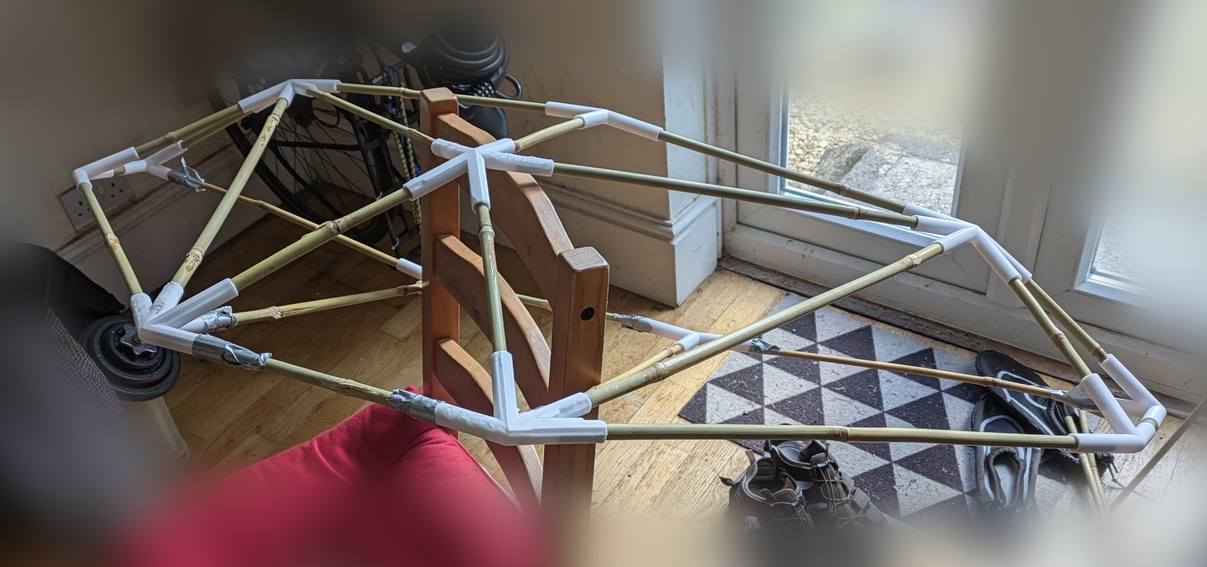
I wanted to recreate the wire-frame polygon aesthetic of the original. I wasn’t that sure how best to achieve this; eventually I settled on 3d printed brackets for each vertex, and joining these with rods. At this stage, I wasn’t really sure where I was going next…
The vertices
I ended up using AI to write a Python script to convert a ship blueprint into a Freecad file containing the brackets. This was the first time I’d really tried any vibe coding (coming rather late to the “party”, I know, but this seemed a low stakes self contained project to try it with). I’m not sure it saved any time compared to doing things conventionally and figuring out the FreeCAD Python library. The process was quite frustrating, and I don’t really trust the script. That said, it does seem to (mostly) work.
Having made a script for the vertices, these could be 3D printed.
The rods
I wasn’t too sure what to use for the rods. Originally I was thinking of having these on show, but I decided it would make more sense to cover the whole structure. This meant that it didn’t really matter what they looked like.
I settled on using garden canes, as they’re cheap and (I assume) sustainable. It was a little fiddly finding canes that were straight and not too fat for the brackets I’d already printed.
The script was persuaded to output a csv of edge lengths, so I could cut the canes down to size (trying to avoid having any lumps near the ends, since these wouldn’t fit into the brackets)
The cover
Having decided to cover the structure, I settled on using Lycra (spandex), as it’s stretchy, and would be taught over the frame. My original plan was to use white Lycra, and illuminate the ships internally, to give a glowing ship shaped polygon.
I got the script to output an SVG containing polygons for each face of the ship. These needed to be moved and rotated in Inkscape to get something I could turn into a pattern I could sew.
I used pdfposter to print a life-size pattern. I manually added seam allowances when cutting the fabric. I sewed the seams with a zigzag stitch (so they’d stretch).
I eventually settled on using a zipper to close the skin. If you try this yourself:
- Remember to add the zipper to a long enough edge you can get the frame inside the ship
- Remember that Lycra stretches and zippers don’t - it’s really fiddly sewing the zipper to the fabric stretched the same amount as it will be when it’s on the frame
I tried a few things to get a uniform glow from LEDs inside the ship, but didn’t have a lot of luck with this; the fabric was too thin to diffuse the light effectively.
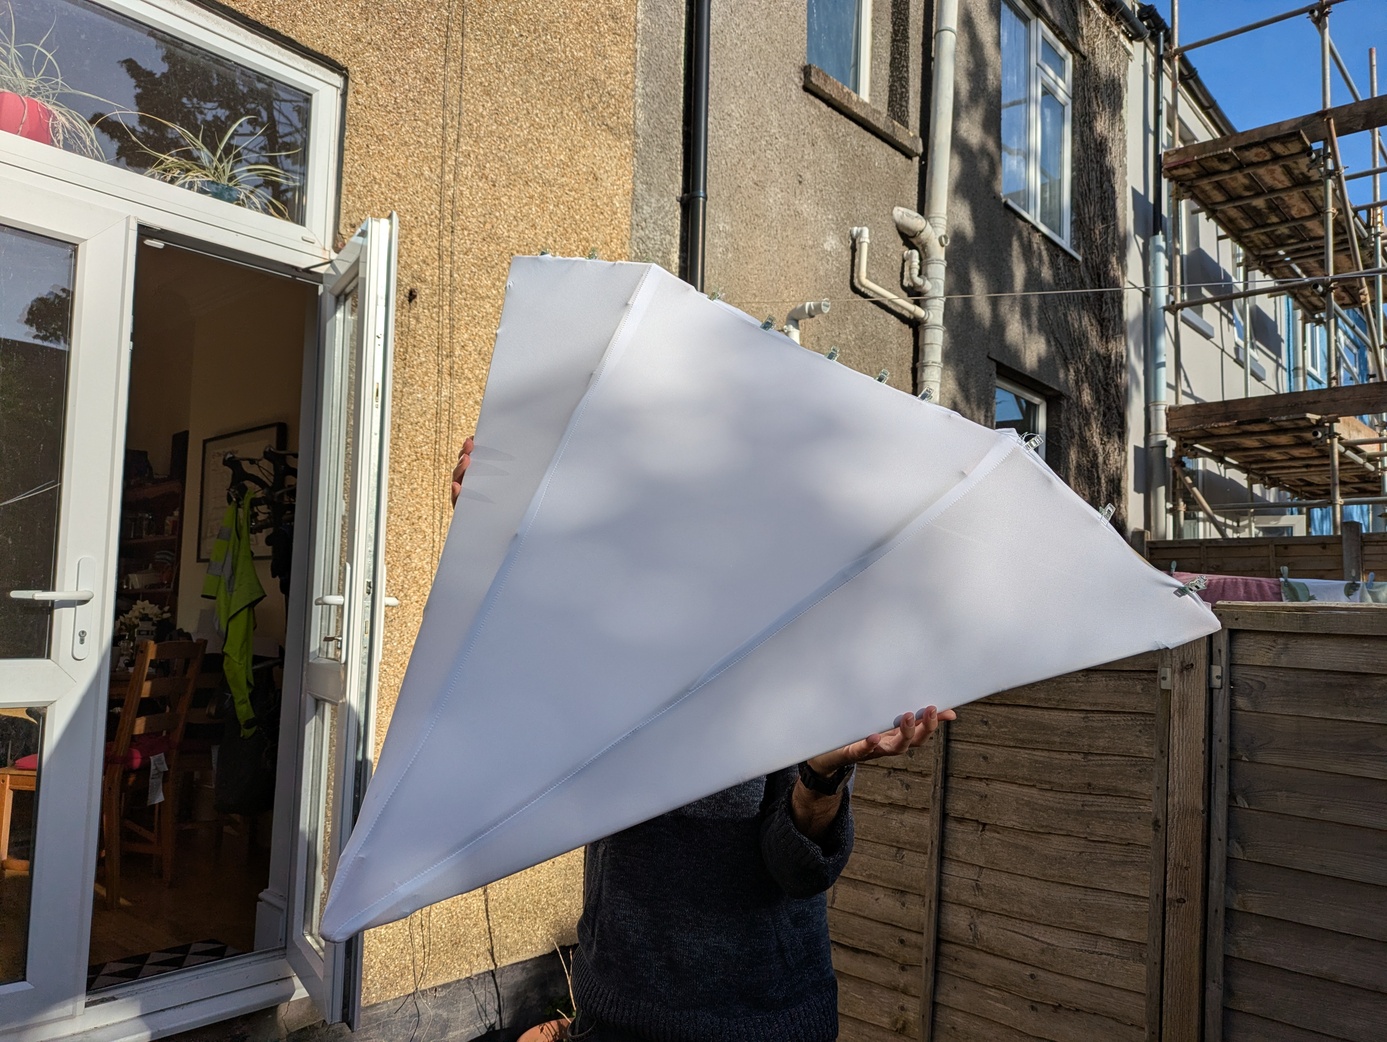
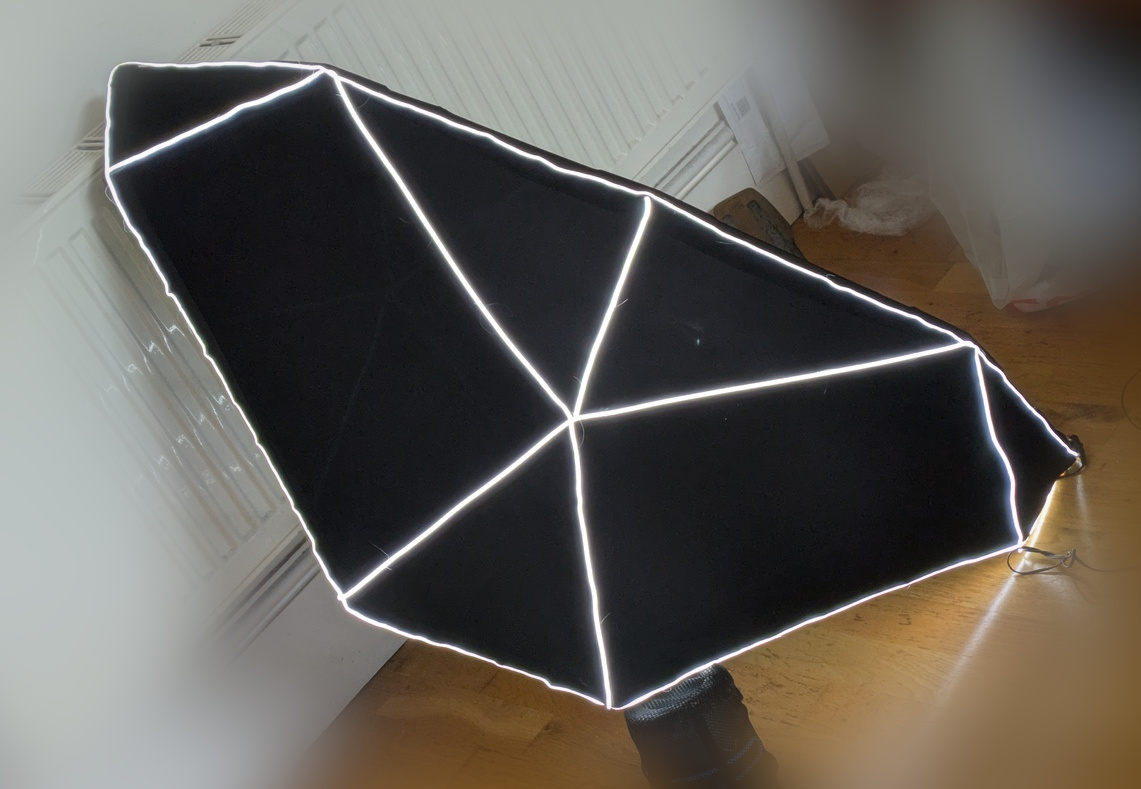
It was at this stage I (tentatively) pitched the idea to EMF and started considering just lighting the edges. Jonathan at EMF was really helpful, and steered me towards this, and using COB LED strips (which I’d not heard of before).
This meant making the skins from black Lycra (which hides my sewing mistakes better).
Lighting and wiring
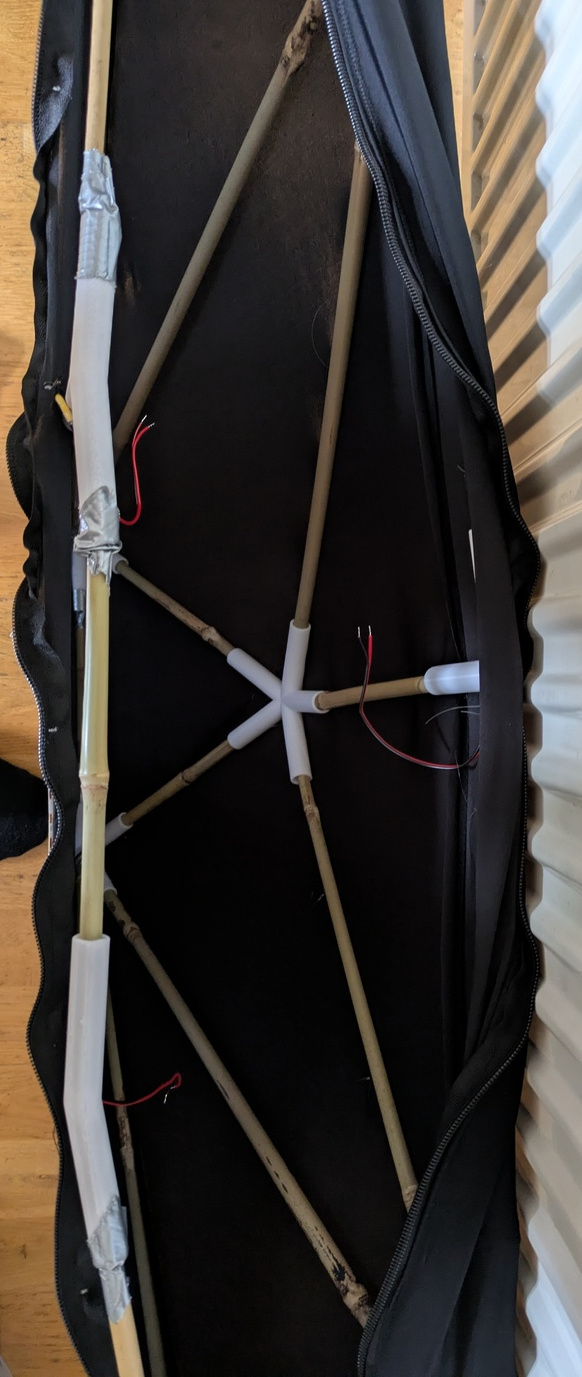
I tried to minimise the number of pieces of LED strips I needed for each ship, as soldering wires on the ends is very fiddly. The COB strips were self adhesive, which should’ve made my life easily Unfortunately, they tended to come unpeeled after a little while. This meant that I ended up blanket stitching the strips to the fabric, using “invisible” thread (which was like thin fishing line). This was very fiddly and time consuming.
The LED ends were wired together and attached to an LED dimmer.
Problems
Unfortunately the ships got a bit melty in transit, and had slumped under their own weight and the tension in the fabric (note to self… don’t use PLA next time). Fortunately, the helpful people in the design tent were able to cut some lengths of wood down to size so I could wedge the ships open into roughly their correct shape.
If I did this again, I’d definitely find a better way of attaching the COB strip to the fabric; sewing it on was very tedious.
The finished thing
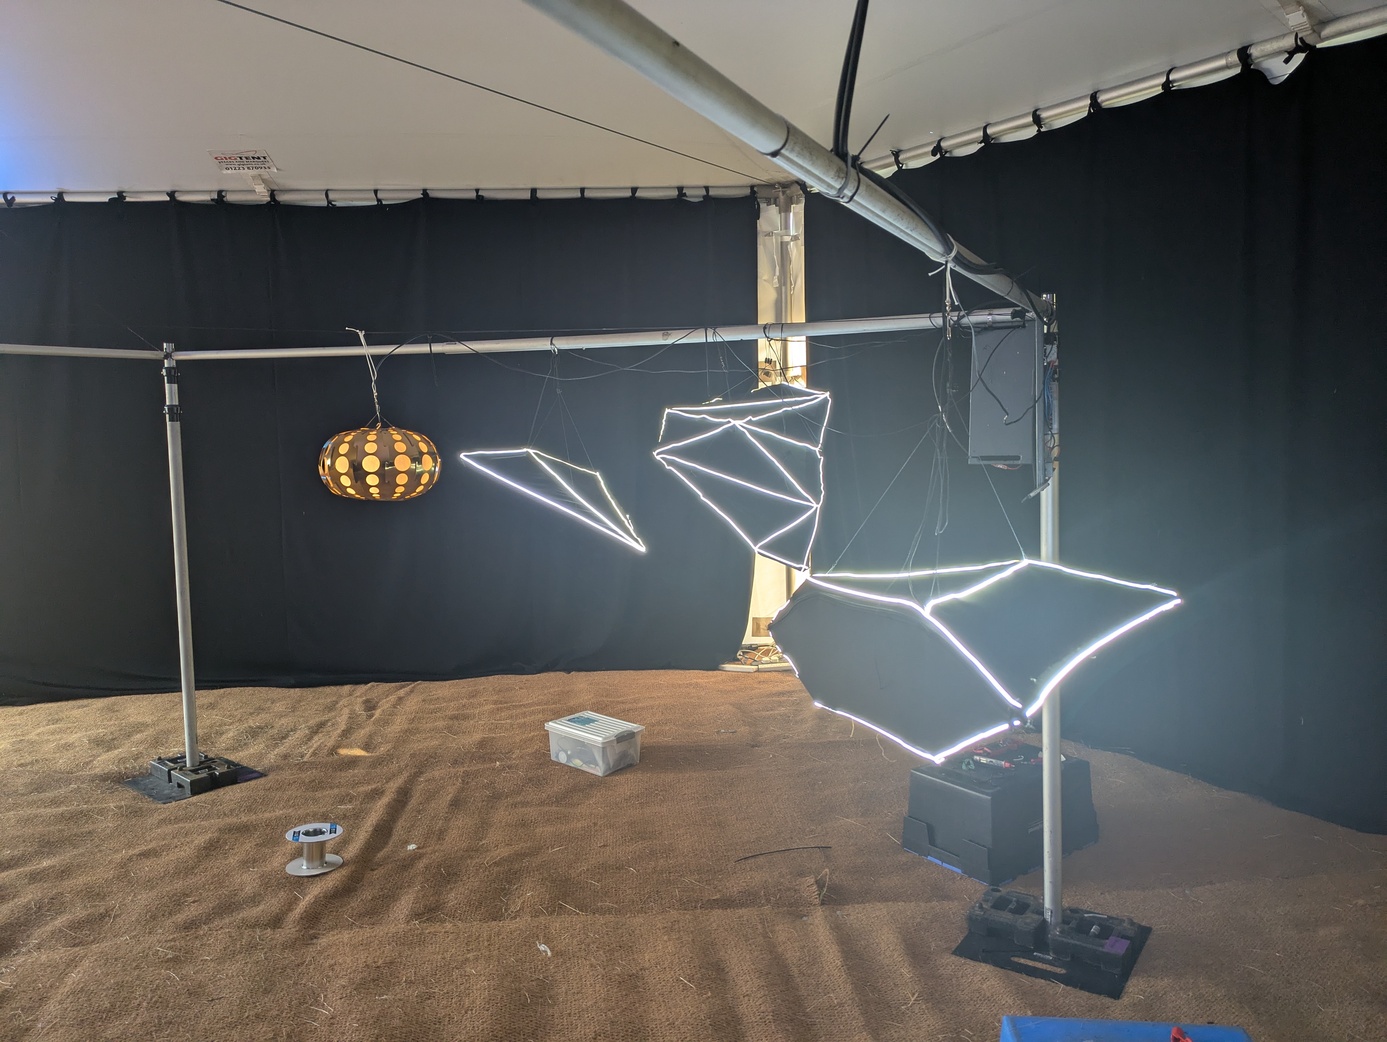
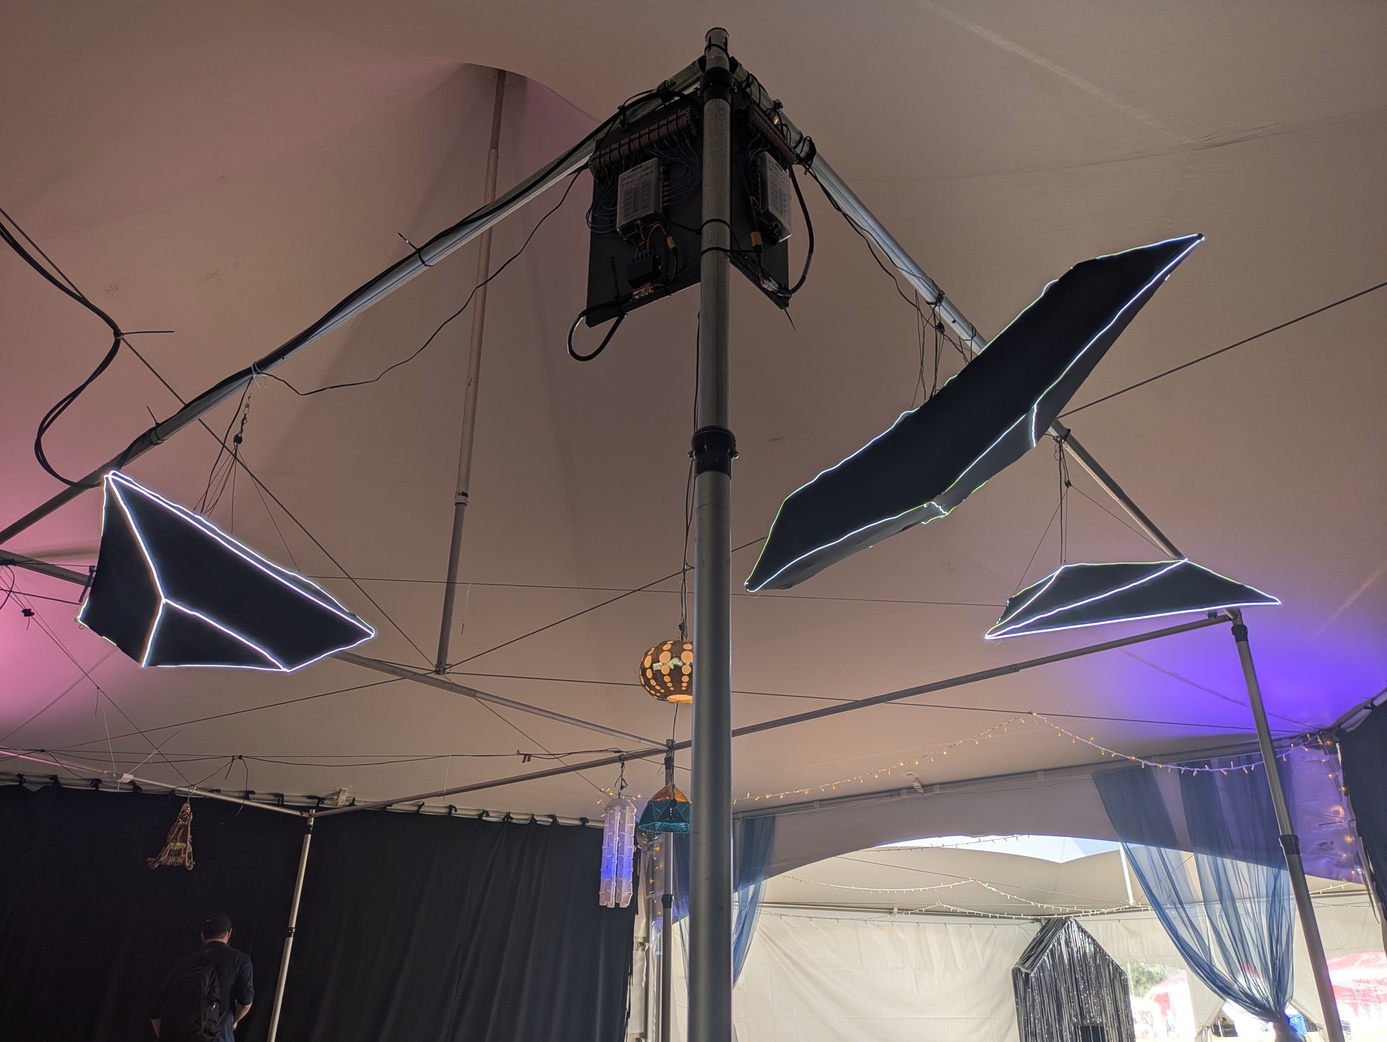
Note
I wasn’t very good a documenting my progress, so the pictures show the different stages of the build for different ships. I started with the white Mamba, then built the Cobra. I then reused the Mamba brackets to make a smaller model, and finally built a Viper.