Reverse engineering Janome embroidery cards (part 2)
(continued from part 1 )
Alternative connectors
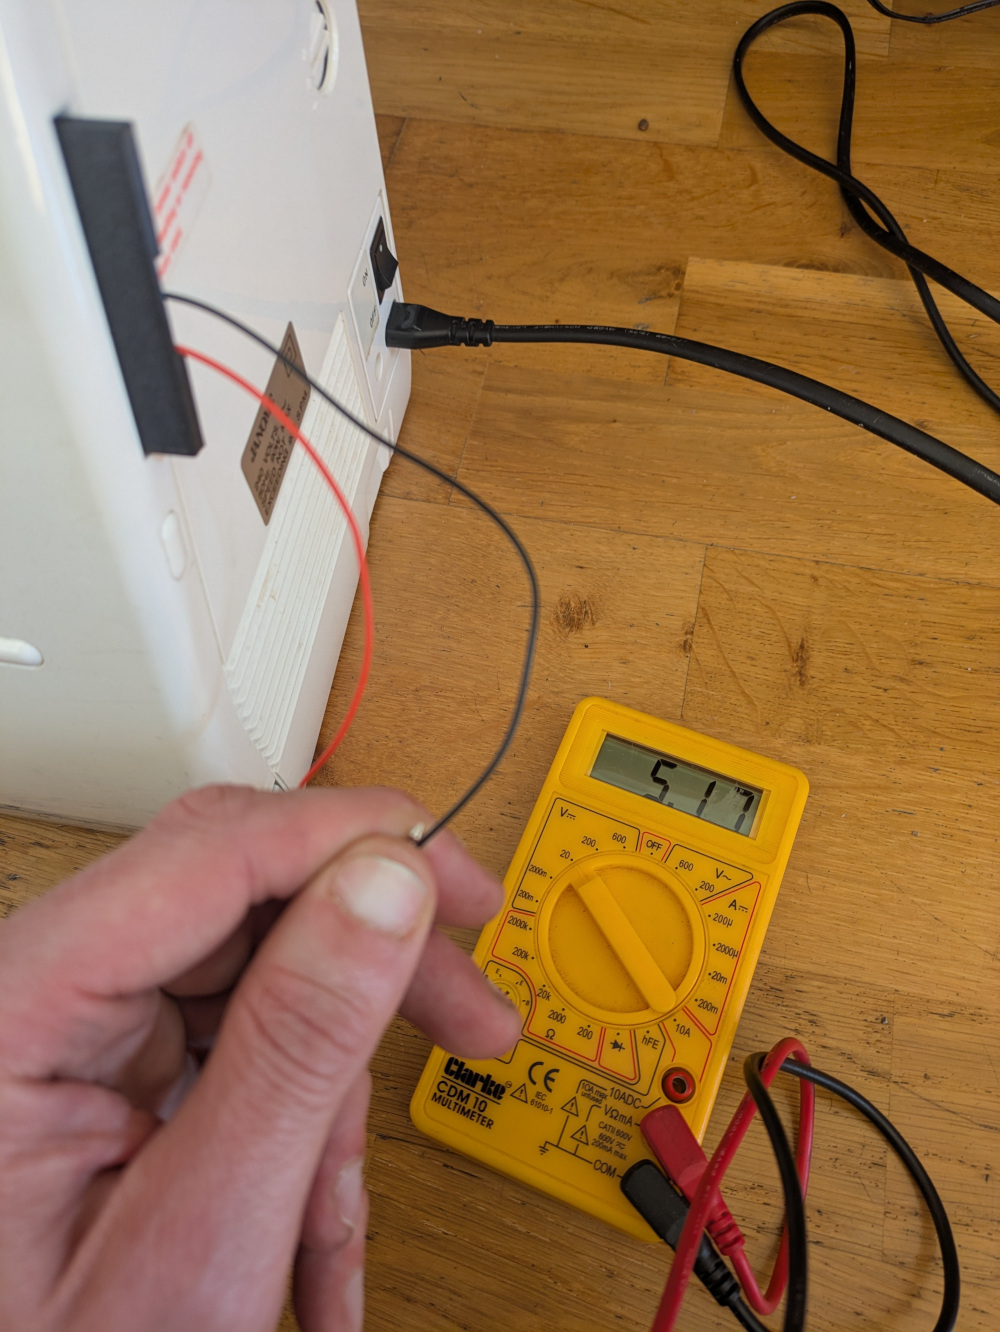
I found an alternative connector on AliExpress that looked like it might work.
Putting this in the 3d printed card, and wiring up 5v and gnd, I was able to make contact with the connector:
Emulating the ROM
I found a project to emulate Atari 8-bit console roms, using a Pi Pico. I wondered if something like this might work to emulate the rom cards. The Atari project appears as a USB drive when plugged into the PC, making it easy to copy ROMS over. When plugged into the console it appears as the rom. It uses an aftermarket purple pico, which has more GPIO pins than the official board.
Searching around I found a couple of similar projects:
- wickerwaka/PicoROM - this uses a custom board to emulate 8 bit ROMS. ROMS can be sent over USB using a command line tool.
- nickbild/picoROM - this uses a standard board, and is much simpler. It’s designed to emulate a 32k ROM; this is included in the code at compile time.
I modified nickbild’s picoROM to work with the 128k ROM images the sewing machine uses. I tested this worked by reading back data from the Pico using the circuit I built to read the ROM cards.
The Janome uses 5v, whereas the Pico uses 3.3v. I tried building a circuit using level shifters, but couldn’t get this to work (I think due to cheap breadboard). The sewing machine either failed to recognise the card at all, failed to start (i.e. I got a blank screen), or the embroidery arm started moving randomly when the machine was turned on.
I decided to try running the Pico directly off the machine, as they’re supposed to be 5v tolerant This wasn’t detected by the machine at all, though the Pico was getting power, and some of the address lines were high.
I’d assumed that the machine wouldn’t try to access the card until the embroidery button was pressed. Presumably this isn’t the case, and it tries to access it as soon as the machine is turned on (which would explain the failing to start, random movements, etc). My hunch is that it’s trying to read the embroidery card before the Pico has started running its code.
The wkerwake/PicoROM has a reset pin that can be toggled when the Pico is ready, to reboot the host machine without powering off to deal with this. I don’t have a way of doing this, since it’s a hardware switch on the sewing machine. He suggests it takes ~8ms to copy the rom from flash + the time for the Pico to boot. I found a forum post that suggested 18ms for boot time.
Tim suggested just writing the ROM image to a flash chip, and using this directly. One of the pages on the PES2Card page lists the chips used in the various official aftermarket cards that used to be available. I’ve ordered a chip to use, which I plan to program using an Arduino and this code. This was written to write Gameboy ROM images, and uses the same chip, so fingers crossed that will work.
Update futher progress here.